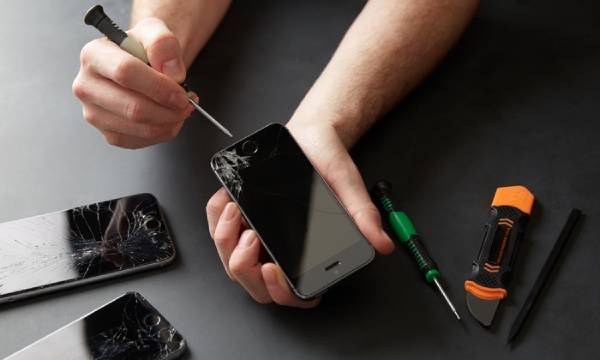
A cracked or damaged iPhone screen can be frustrating, particularly if it impairs touch sensitivity and display clarity. While Apple provides repair services, many users prefer to save money by replacing their screens themselves. If you want to replace your iPhone screen yourself, this tutorial will bring you through the necessary processes, tools, and precautions.
Understanding the Risks
Before beginning the replacement process, it’s critical to recognize the dangers involved:
- Warranty Voidance: If you replace your iPhone screen on your own, any remaining warranty or AppleCare+ coverage would most likely be void.
- Damage Risk: Improper handling has the potential to further harm internal parts.
- Waterproofing Loss: The iPhone’s water resistance is based on factory sealing, which might be weakened following a screen repair.
- Face ID or Touch ID Issues: Mishandling components may permanently disable certain features.
Tools Required
To replace an iPhone screen, you’ll need the following tools:
- Pentalobe Screwdriver: For removing the bottom screws.
- Phillips Screwdriver: To remove internal screws.
- Plastic Pry Tools or Spudger: For disconnecting cables safely.
- Suction Cup: To lift the screen.
- Tweezers: For handling small components.
- Adhesive Strips or Glue: To reseal the screen after replacement.
- Replacement Screen: A compatible screen for your iPhone model.
- Heat Gun or Hair Dryer: To loosen adhesive before removing the screen.
Step-by-Step Screen Replacement Process
Step 1: Prepare Your Work Area
- Ensure you have a clean and well-lit workspace.
- Power off the iPhone to prevent short circuits.
- Use an anti-static mat if available.
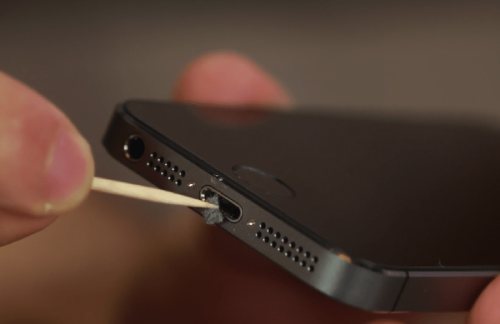
Step 2: Remove the Bottom Screws
- Locate the two pentalobe screws at the bottom of the iPhone, near the charging port.
- Use a pentalobe screwdriver to remove them.
Step 3: Open the iPhone
- Apply gentle heat around the edges of the screen using a heat gun or hairdryer.
- Place a suction cup near the bottom of the screen and gently pull upwards.
- Insert a plastic pry tool between the screen and the frame to separate the adhesive.
- Slowly work your way around the edges to lift the screen.
Step 4: Disconnect the Battery
- Locate the battery connector shield (usually held by Phillips screws) and remove it.
- Use a plastic spudger to disconnect the battery cable, preventing accidental short circuits.
Step 5: Disconnect the Display Cables
- Identify the display cable connectors and remove their shields.
- Use a spudger or tweezers to carefully disconnect these cables.
- Lift the screen completely once all cables are disconnected.
Step 6: Transfer Components to the New Screen
- Some iPhone models require transferring components like:
- Front Camera & Face ID Sensor
- Earpiece Speaker
- Home Button (if applicable)
- Carefully unscrew and transfer these parts to the new screen.
Step 7: Attach the New Screen
- Reconnect the display cables to the logic board.
- Reattach the battery connector.
- Secure all internal shields with screws.
Step 8: Test the New Screen
- Before sealing the device, power it on and test:
- Touch responsiveness
- Display clarity and brightness
- Face ID or Touch ID functionality
- Front camera and earpiece speaker
Step 9: Seal the iPhone
- If the screen works properly, apply new adhesive strips or glue around the edges.
- Carefully press the screen into place.
- Reinsert and tighten the pentalobe screws at the bottom.
Troubleshooting Common Issues
Screen Not Turning On
- Ensure all display cables are properly connected.
- Try a hard reset by holding the Power + Volume Down (for newer models) or Power + Home (for older models).
- Check if the battery is properly reconnected.
Touchscreen Unresponsive
- Inspect the display connector for dust or misalignment.
- Re-seat the display cables securely.
- If the problem persists, the replacement screen may be defective.
Face ID or Touch ID Not Working
- Face ID sensors are quite sensitive. If broken, Face ID may become permanently inoperable.
- When replacing a Home Button (on previous iPhones), the original button must be reused to keep Touch ID functional.
Tips for a Successful Replacement
- Watch Repair Videos: Follow step-by-step video guides for your iPhone model.
- Use High-Quality Replacement Screens: Low-cost screens may exhibit poor touch responsiveness and display difficulties.
- Keep Screws Organized: iPhone screws vary in size, and mixing them up might cause damage.
- Work slowly and carefully: Rushing can result in costly blunders.
- Backup Your Data: In case something goes wrong, make sure your vital data is backed up.
When to Seek Professional Help
Professional repair services may be preferable for individuals who are uncomfortable handling delicate components, even though DIY fixes might be cost-effective.
- The iPhone has sustained additional internal damage.
- You want to keep the waterproofing. (Apple’s official repair shops utilize factory-grade adhesives).
- You are concerned about Face ID or Touch ID problems.
Conclusion
When done correctly, replacing an iPhone screen might be a low-cost option. Follow this tutorial to successfully change your screen while avoiding frequent mistakes. However, if you’re unsure or lack the essential tools, obtaining professional help maybe your best option. Whether you opt for a DIY repair or a professional service, repairing your iPhone’s screen ensures improved use and a new design.